A Complete Guide to the Installation of an Inground Pool
4 min read
Installing an inground pool is one of the most impactful upgrades you can make to your home. Not only does it enhance your outdoor living space, but it also increases your property’s value and provides a fun and relaxing environment for family and friends. However, the installation of an inground pool is a significant construction project that requires careful planning, professional expertise, and a clear understanding of the steps involved.
This article offers a comprehensive guide to inground pool company Noblesville installation, including the types of pools available, the installation process, average costs, and expert advice to ensure your backyard transformation goes smoothly.
Step 1: Planning and Design
The first and most important stage in inground pool installation is the planning phase. During this time, you’ll determine:
- The size and shape of the pool
- The type of materials to use (concrete, fiberglass, or vinyl)
- The location of the pool on your property
- Features and accessories like lighting, waterfalls, decking, or tanning ledges
Most reputable pool contractors offer a free on-site consultation and 3D design renderings, which help you visualize the finished project before construction begins.
Step 2: Choosing the Right Pool Type
There are three primary types of inground pools, each with its own pros and cons:
1. Concrete Pools (Gunite)
- Highly customizable in shape and size
- Extremely durable and long-lasting
- Takes the longest to install (8–12 weeks)
- Higher initial cost and maintenance
2. Fiberglass Pools
- Pre-molded shells installed in one piece
- Quick installation (2–4 weeks)
- Low maintenance and smooth surface
- Limited shapes and sizes
3. Vinyl Liner Pools
- Flexible design with metal or polymer wall panels
- Most affordable option
- Liners need replacement every 7–10 years
- Moderate installation time (4–8 weeks)
Choosing the right pool type depends on your budget, timeline, yard layout, and long-term maintenance preferences.
Step 3: Obtaining Permits and Approvals
Before any construction begins, your pool contractor must secure the necessary permits. Local building codes often regulate:
- Setbacks from property lines and structures
- Electrical and plumbing compliance
- Safety requirements, including fencing and covers
- Utility line clearance
Your installer will work with city officials to ensure your project meets all legal and zoning regulations, avoiding potential fines or delays.
Step 4: Excavation
Once permits are approved, the excavation process begins. Heavy equipment is used to dig the hole to the precise dimensions of your pool design. This stage can take 1–3 days, depending on the size of the pool and the soil conditions.
The removed soil may be hauled away or repurposed for grading and landscaping, depending on the layout of your yard.
Step 5: Pool Structure Installation
Depending on the pool type you selected, this stage will vary:
- Concrete Pools: Steel rebar is laid to form the pool’s shape. Gunite (a form of concrete) is then sprayed and shaped. After curing, the surface is plastered.
- Fiberglass Pools: The factory-molded shell is delivered and lowered into place. Adjustments are made to ensure it’s level and secure.
- Vinyl Pools: Wall panels are installed and secured, followed by a sand or concrete base. A custom vinyl liner is placed over the frame and vacuum-sealed.
Step 6: Plumbing, Electrical, and Equipment Installation
With the structure in place, the plumbing lines for filtration, heating, and water features are installed. Electrical components, including lighting and pumps, are also wired at this time.
Features like automation systems, jets, saltwater systems, or heat pumps are also added during this stage, allowing for optimal functionality once the pool is operational.
Step 7: Backfilling and Decking
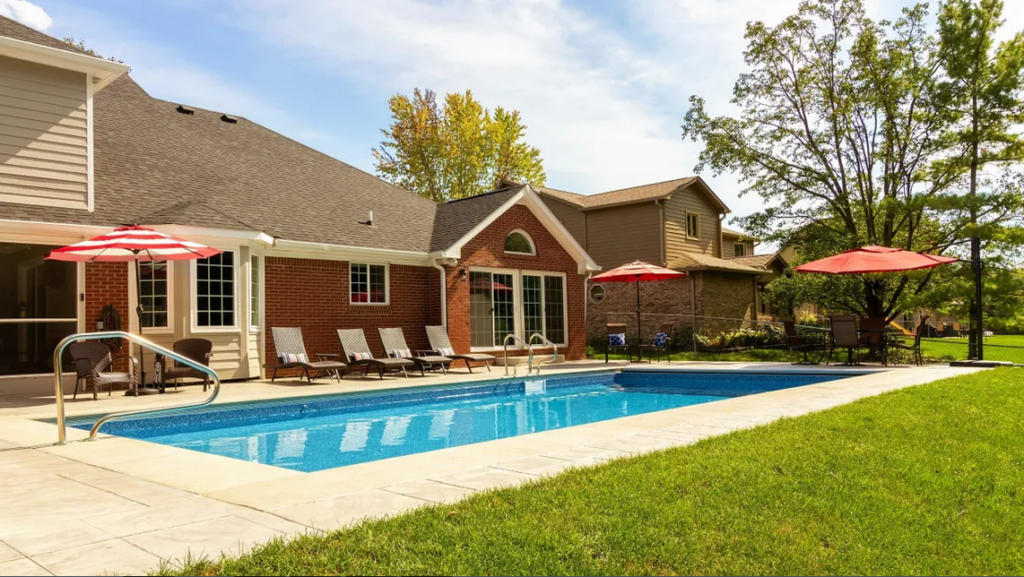
After plumbing and structural work is completed, the area around the pool is backfilled and compacted. Then, decking is installed around the pool. Popular choices for decking include:
- Concrete
- Pavers
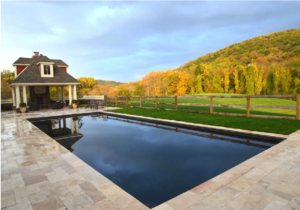
- Natural stone
- Wood or composite materials
Decking not only enhances the look of your pool but also provides a safe, non-slip area for lounging and entertaining.
Step 8: Interior Finish and Water Fill
For concrete pools, a plaster, tile, or pebble finish is applied to the interior surface. Vinyl and fiberglass pools already have finished surfaces in place.
Once the surface is complete, the pool is filled with water and balanced with chemicals. The pool equipment is tested to ensure everything is operating correctly.
Step 9: Final Inspection and Orientation
Before you can officially use the pool, a city inspector may need to sign off on the project. After approval, your pool builder will walk you through how to use and maintain your pool system.
You’ll receive information on:
- Filtration system operation
- Cleaning schedules
- Chemical balancing
- Winterization and seasonal care
How Much Does Inground Pool Installation Cost?
Costs vary depending on the pool type, features, and region, but average prices include:
- Vinyl Liner Pool: $35,000 – $55,000
- Fiberglass Pool: $40,000 – $70,000
- Concrete Pool: $60,000 – $100,000+
Additional features like heaters, waterfalls, automation, fencing, or landscaping will increase your total investment.
Final Thoughts
The installation of an inground pool is a rewarding project that can enhance your lifestyle and property value. While the process involves multiple steps and significant planning, partnering with a professional pool installer ensures a smooth experience from start to splash.
With the right team, materials, and vision, you can create a stunning outdoor retreat your family will enjoy for years to come. So take the plunge—your dream pool is closer than you think.


